For newcomers, the skincare world and all its complexities can be rather daunting (to say the least!). When confronted with an almost endless selection of cleansers, serums, moisturisers - and more - it’s not always easy knowing where to start when it comes to designing your own skincare routine.
So, in this article, we’re going back to basics. We’ll be giving you all the knowledge you need to feel empowered in crafting your very own skincare regimen.
If you’re feeling nervous, we’ve got good news: With the right advice (that’s where we come in!), it’s actually way easier to get your skincare sorted than you’d think.
Let’s get cracking…
Step 1: Choose a cleanser
Cleanser may be one of the simplest products in the skincare aisles, but its importance shouldn’t be underestimated.
Here’s a rough guide to choosing the best cleanser for your skin type:
Dry skin
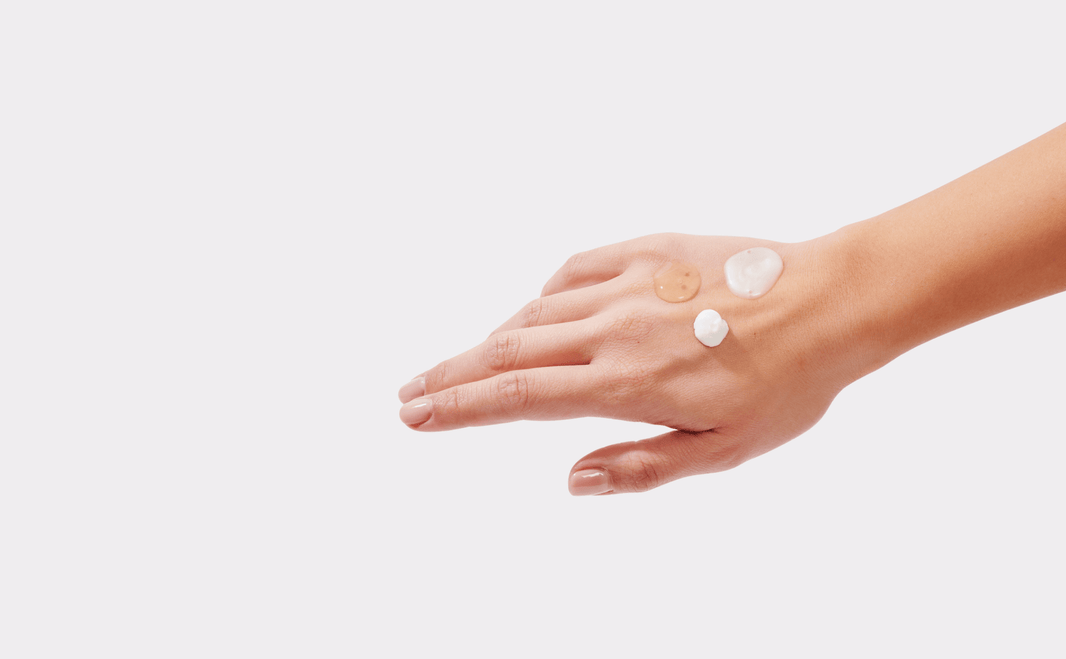
Cream cleansers with added hydrators such as hyaluronic acid will serve you well. As a rule, it’s also best for dry skinned friends to steer clear of gel and foam cleansers as these can strip the skin of too much moisture.
Sensitive skin
Simple is best for sensitive skin and you’ll to keep this mantra in mind when it comes to selecting the rest of your products. Avoid unnecessary ingredients like fragrances or colours as this will lessen your chance of experiencing irritation.
Normal skin
If you’ve got normal skin, congrats to you. Your skin type is the easiest to deal with and you can pretty much have your pick of whichever cleansers catch your eye.
Oily and acne-prone skin
Gel and foam cleansers are often great for sweeping away surface oil and other skin-clogging impurities. If you’d like an even more powerful mattifying effect, look for formulas containing clay which will help reduce excess shine.
Step 2: Boost your skin with targeted skincare serums
How to apply your serum
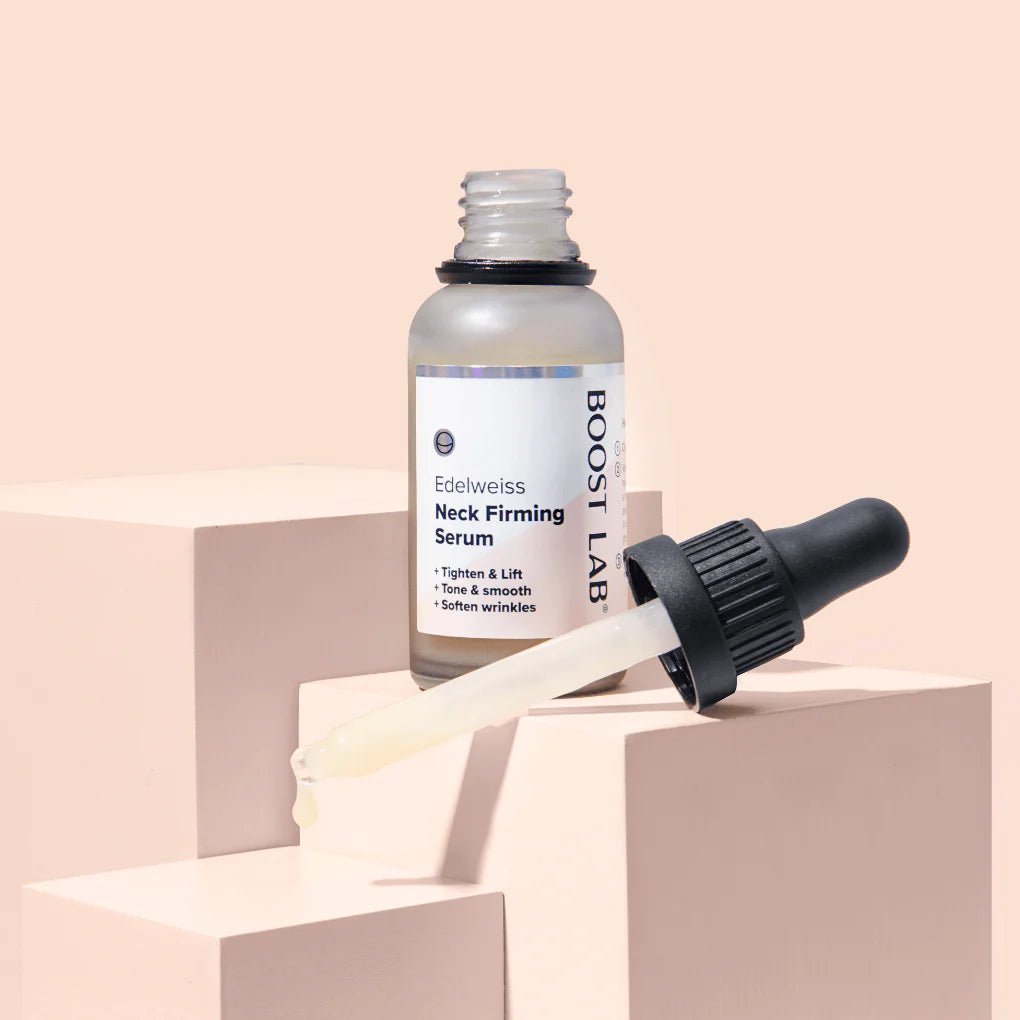
Serums are where the skincare magic happens, and they can be applied morning or night. That said it's best to reserve those with stronger actives (such as retinol) for the evenings.
To apply your serum, pat 1-2 drops into clean skin and let it soak in before adding any further products.
How to choose your serums
Think about the complexion concerns you’d like to treat (e.g., dryness or signs of ageing) and select your products accordingly.
Here’s a cheat sheet for you…
Blemished skin: Boost Lab® Vitamin B3 Blemish Rescue Serum clears congestion with vitamin B3.
Fine lines and wrinkles: Boost Lab® Multi-Peptide Anti-Ageing Serum contains a clinical concentrate of active peptides to reduce fine lines and crow's feet.

Ageing skin: Boost Lab® Retinol Night Renewal Serum uses Gold Standard retinol and granactive retinoids to smooth skin and fade pigmentation.
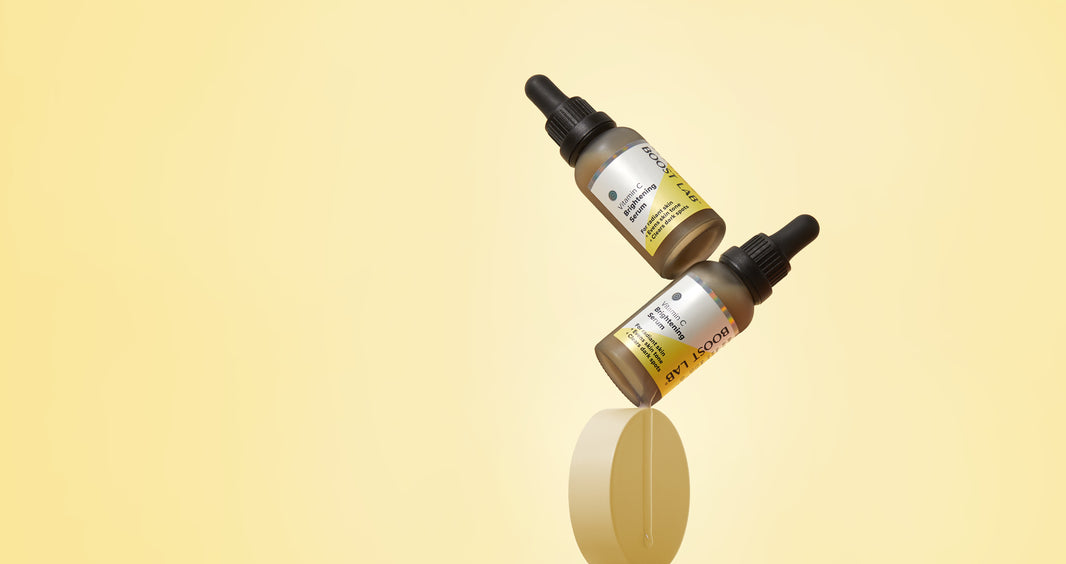
Dull skin or excess pigmentation: Boost Lab® Vitamin C Brightening Serum improves radiance with vitamin C and niacinamide.

Under-eye dark circles and dullness: Boost Lab® Bio-Active Eye Reset Serum brightens the under-eye area with Gold Standard peptides.
Dry or dehydrated skin: Boost Lab® 2D-Hyaluronic Hydro Boost Serum lavishes dry skin with three types of hyaluronic acid to deeply hydrate.
Congested or uneven skin: Boost Lab® AHA Glow Resurfacing Serum renews the skin with its Gold Standard Lactic acid complex.
For more help with choosing the best serums for your skin, check out our Skin Advisor tool.

Step 3: Lock it all in with moisturiser
Once your serums have been fully absorbed, apply your favourite moisturiser over the top to keep your skin feeling hydrated and comfortable.
Just like with the previous two steps, choose your moisturiser based on your skin type. For example, drier skin types should opt for richer creams with nourishing ingredients like ceramides while oilier skins will benefit from lighter formulas such as gels.


